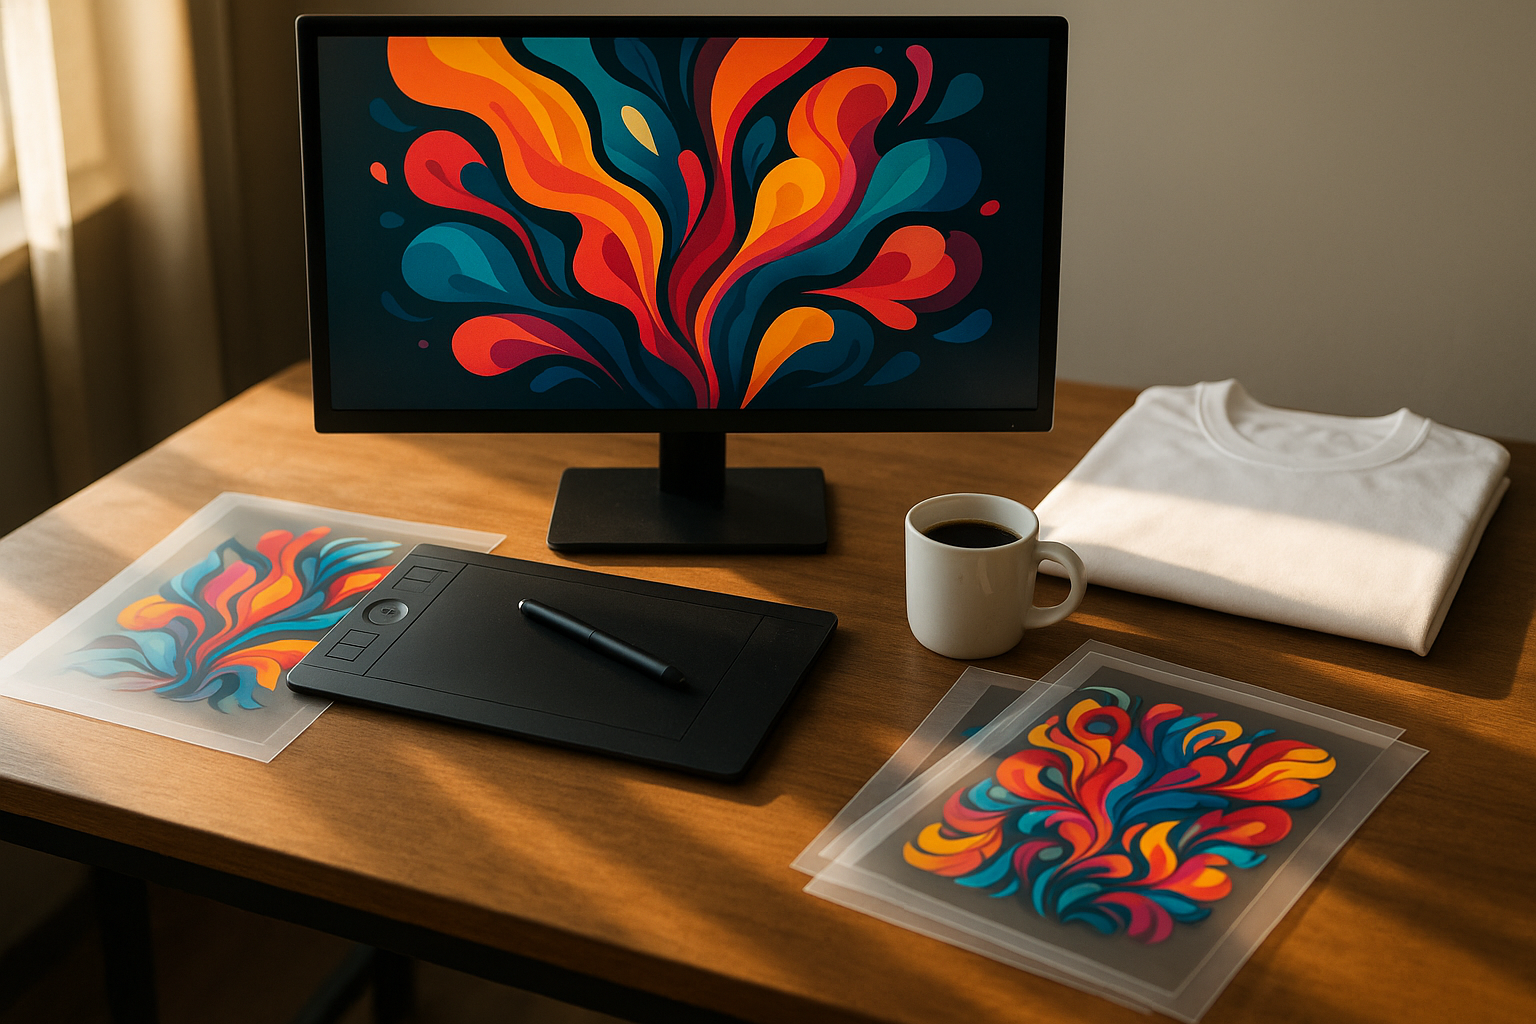
If you've spent any time in DTF circles lately, you've probably seen those glossy, peel-and-stick decals that wrap perfectly around a coffee mug or a tumbler — no heat press, no shrink wrap, no fuss. That's UV DTF, and despite sharing three letters with the fabric printing process you already know, it's a different animal. Let's walk through what it actually is, how it works, and what kinds of products you can make with it.
What UV DTF Actually Is
UV DTF stands for Ultraviolet Direct-to-Film. Like the fabric version, it starts with a design printed onto a film carrier. But that's roughly where the similarities end. Instead of water-based pigment inks and adhesive powder cured in an oven, UV DTF uses UV-curable inks that harden instantly under ultraviolet LED lamps inside the printer. The result is a finished decal — printed in full color with a built-in adhesive layer — that you simply peel and press onto a hard surface.
You'll often hear these called "AB film" decals because the system uses two films:
- A film — the printing film. Your design is printed on this in reverse, with the white ink layer on top, then a final adhesive layer.
- B film — a transfer/laminate film with a sticky surface that gets pressed onto the A film, sandwiching the print.
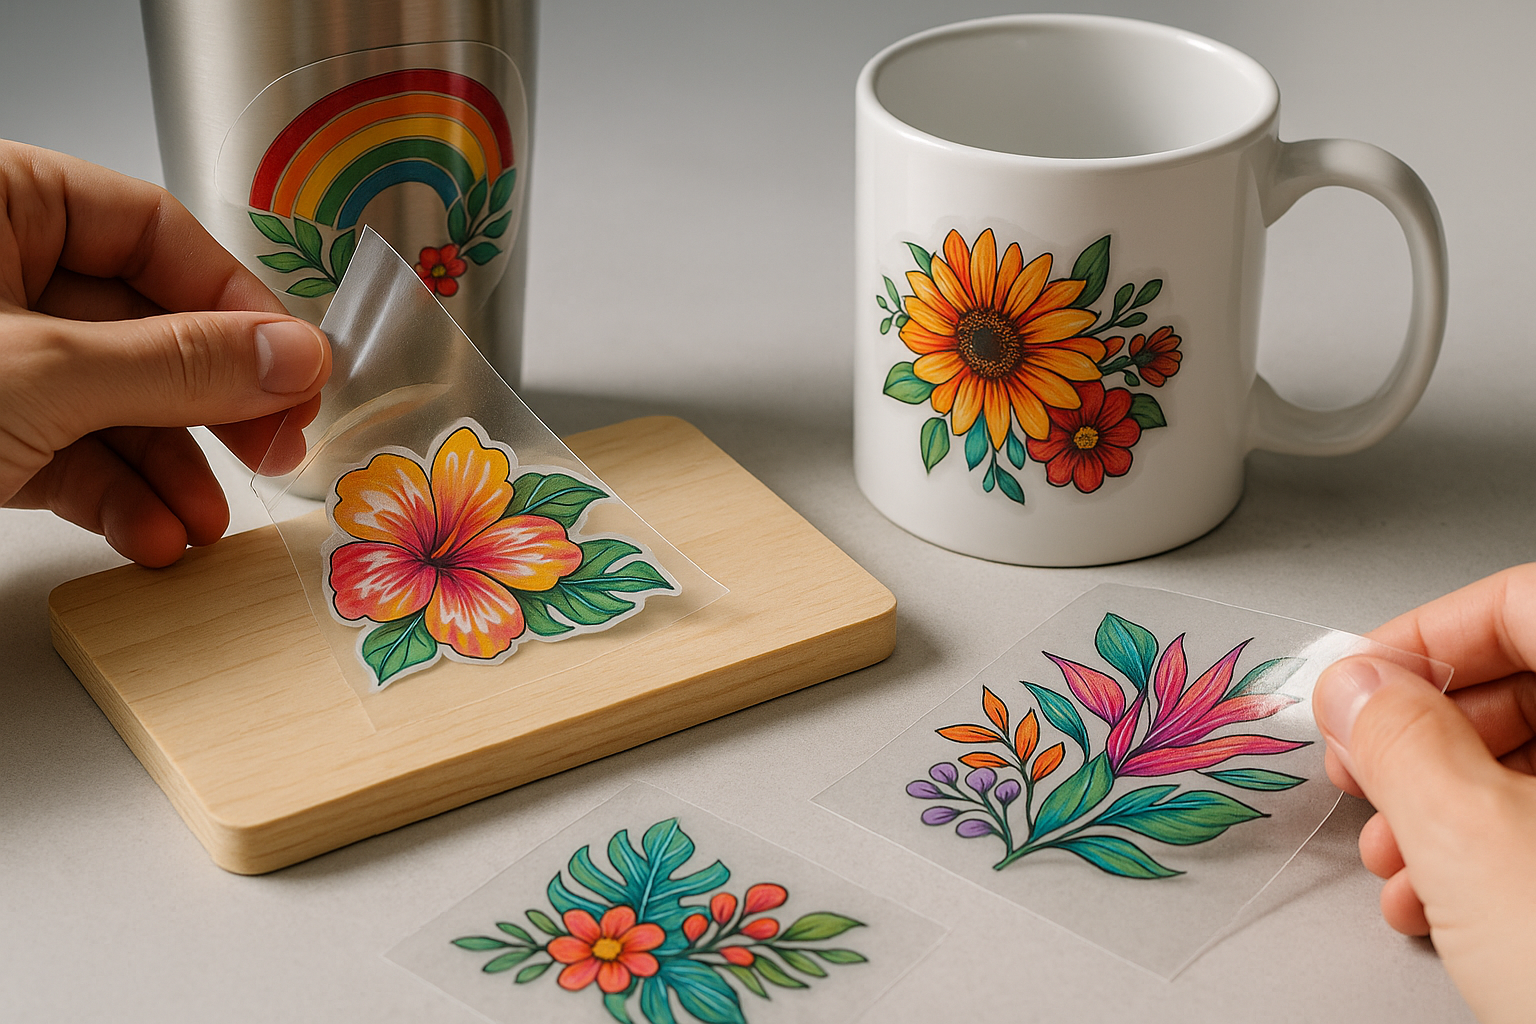
When you peel the two apart at the right moment, the cured ink and adhesive transfer onto the B film, ready to be cut, peeled from its backing, and stuck to whatever you're decorating.
How the Process Works, Step by Step
If you're trying to picture the workflow, here's what a typical UV DTF job looks like from RIP to finished product:
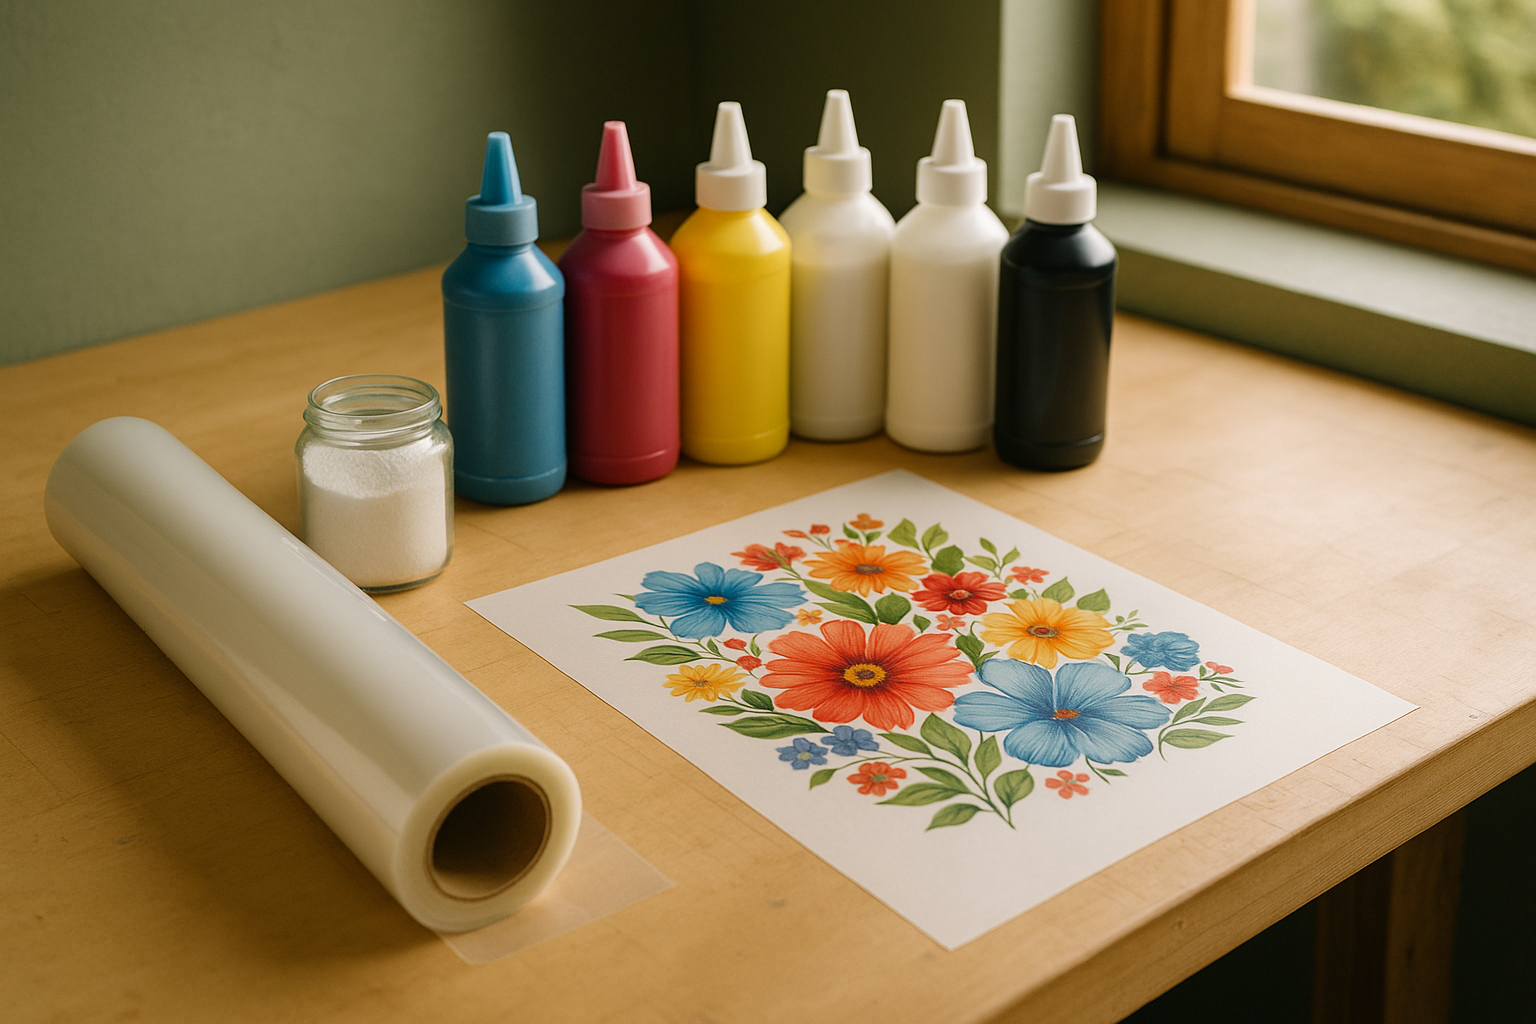
- Design and RIP. You build your artwork in your design software, then send it to a RIP that handles white ink generation, color management, and varnish channels if your printer supports them.
- Print on A film. The printer lays down a varnish or gloss layer first (which becomes the top surface after transfer), followed by CMYK, then a solid white backing, then a thin adhesive layer. Each pass is cured by the UV LEDs almost instantly.
- Laminate with B film. Either the printer does this automatically or you run the printed sheet through a small laminator. The B film's tacky surface bonds to the still-fresh adhesive on the A film.
- Peel and apply. When you separate the two films, the print transfers to the B film. Cut around your designs, peel the backing, and burnish onto your substrate.
The whole thing happens at room temperature. No heat press, no oven, no curing time to schedule around.
UV DTF vs. Fabric DTF: Don't Mix Them Up
This is the part that trips up a lot of newcomers, especially shop owners thinking about adding a second printer. The two processes share a name and a film carrier, but they're built for completely different jobs.
Substrates
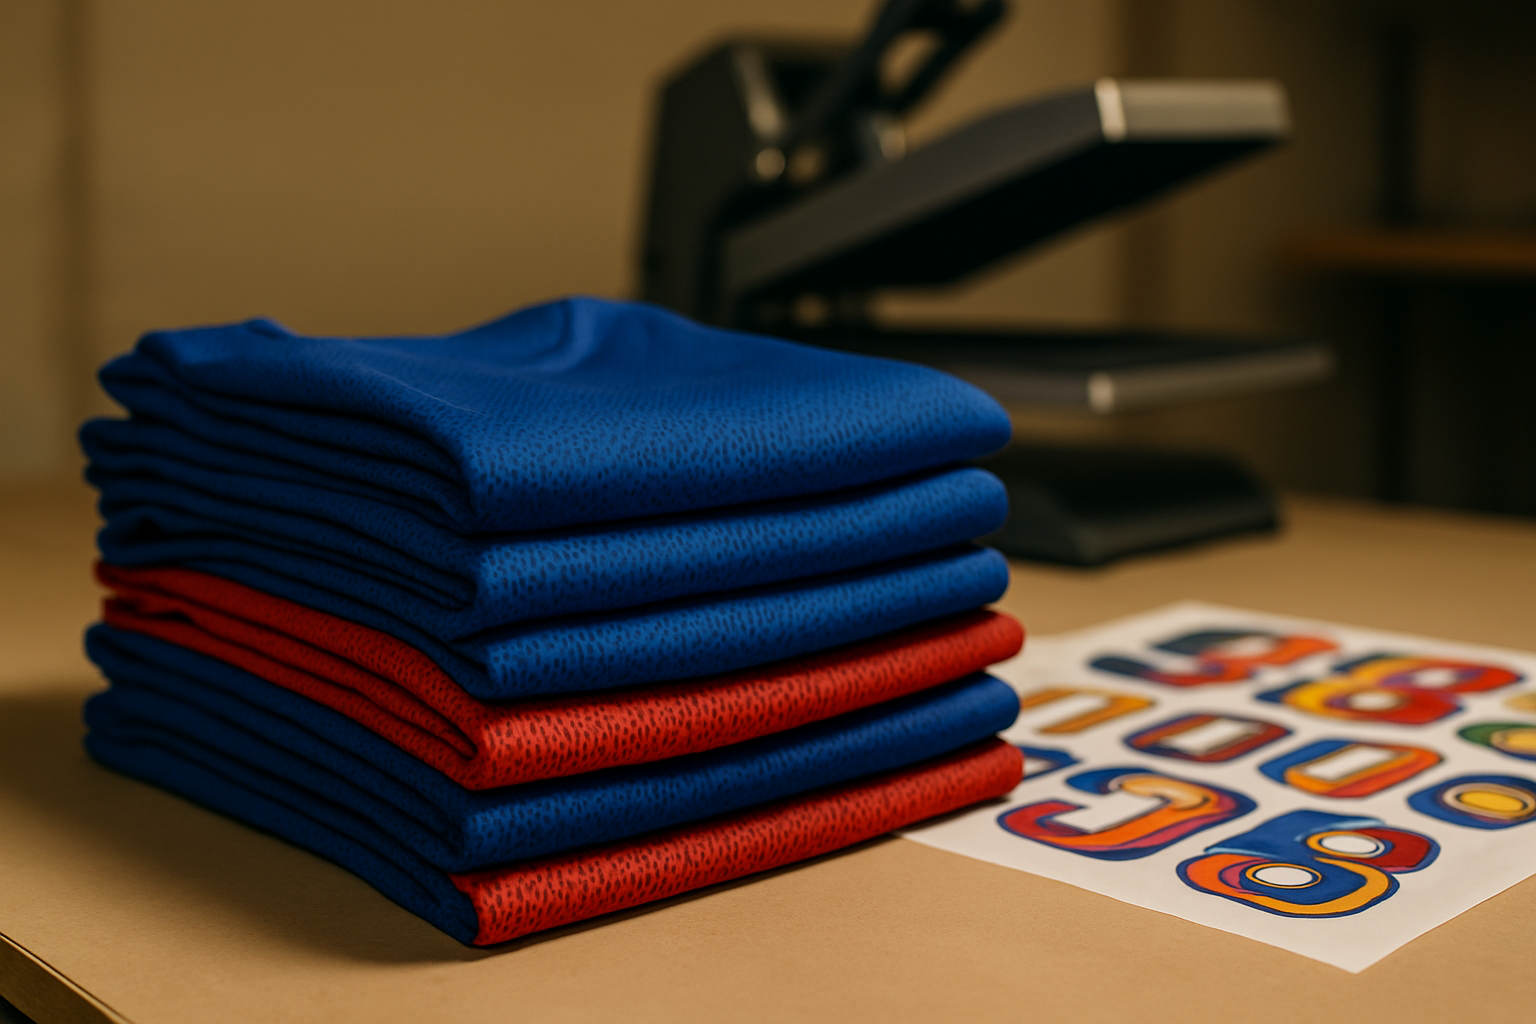
Fabric DTF is for textiles — cotton, polyester, blends, nylon. UV DTF is for hard, non-porous surfaces: glass, ceramic, metal, acrylic, wood, leather, plastic, even some painted surfaces. Try to put a UV DTF decal on a t-shirt and it will crack and fall off in the first wash. Try to heat-press a fabric DTF transfer onto a tumbler and you'll get a wrinkled mess.
Inks and Curing
Fabric DTF uses water-based pigment inks plus a hot-melt adhesive powder cured in a forced-air oven. UV DTF uses photopolymer inks that solidify when UV light hits them. The chemistry, the maintenance routines, and the safety considerations are all different.
Application
Fabric DTF needs a heat press at roughly 300–325°F for 10–15 seconds. UV DTF is cold application — you press the decal on with your fingers or a squeegee. That alone makes it dramatically faster for one-off and small-batch work.
What You Can Actually Make With It
This is where UV DTF gets fun. Because it works on almost anything rigid, the product list is long. Some of the most popular applications operators are running right now:
- Tumblers and mugs — stainless steel, ceramic, glass. The decal flexes around curved surfaces if the design isn't too wide.
- Phone cases and AirPod cases — quick personalization with a clean, glossy finish.
- Candles and glass jars — labeling for small-batch makers without ordering printed labels.
- Wood signs and ornaments — laser blanks, MDF, plywood. The decal sits on top with a slight raised feel.
- Acrylic blanks — keychains, badges, drink toppers, shelf sitters.
- Metal water bottles, lighters, and tins.
- Notebooks, journals, and planners — cover personalization for stationery shops.
- Helmets, hardhats, and tool boxes — durable enough to hold up to handling.
- Skin and bezel decals for laptops, gaming consoles, and controllers.
The decals have a slightly raised, tactile feel — closer to a screen-printed sticker than a flat vinyl. Most operators describe the finish as glossy by default, with matte or textured varnishes available on higher-end machines.
Strengths and Limitations
Where UV DTF Shines
- Speed of application. No heat press cycle means you can decorate dozens of items in the time it takes to press a few shirts.
- Substrate flexibility. One process covers most hard goods you'd otherwise need sublimation, vinyl, or pad printing for.
- Detail and color. Fine line work, gradients, and small text all hold up well because the ink is sitting on top, not soaking in.
- No special blanks required. Unlike sublimation, you don't need polyester-coated mugs or tumblers. Standard retail items work.
Where It Falls Short
- Not for fabric. Worth repeating. If textiles are your main business, UV DTF is an add-on, not a replacement.
- Curved-surface limits. Decals will conform to gentle curves, but compound curves (like a baseball or a deeply tapered tumbler) cause wrinkling. Most shops cap design width at around 3.5–4 inches for standard tumblers.
- Outdoor durability varies. UV DTF holds up well indoors and to normal handwashing, but extended sun exposure and dishwashers will shorten its life. Most makers recommend hand-wash only.
- Ink and consumable cost. UV inks and AB film are generally pricier per square inch than fabric DTF supplies.
- Maintenance. UV printheads are unforgiving. Skipped maintenance cycles can lead to expensive head replacements.
What You Need to Get Started
Entry-level UV DTF setups have come down considerably in price over the last couple of years. A basic kit usually includes:
- A UV DTF printer (desktop A4 or A3 models are common starting points, with larger roll-fed machines available for higher volume).
- UV inks — typically CMYK plus white, and often a varnish/gloss channel.
- AB film, sold either as paired sheets or matching rolls.
- A RIP software license (some printers include one, some don't).
- A small laminator if your printer doesn't laminate inline.
- Basic PPE — UV inks and cleaners deserve gloves and good ventilation.
Plan for a learning curve of a few weeks. White ink density, varnish settings, and peel timing all take some dialing in, and every brand of film behaves a little differently.
Is It Right for Your Shop?
If you already run fabric DTF and your customers keep asking for matching tumblers, mugs, or signage to go with their shirts, UV DTF is one of the more straightforward add-ons you can make. It opens up a different product category without retraining your design team or rebuilding your art pipeline. Just go in clear-eyed: it's a separate machine, a separate set of consumables, and a separate maintenance routine. Treat it as a complement to your fabric work — not a replacement — and it can be a tidy little profit center alongside the shirt press.